Items: Difference between revisions
From Zed Wiki
| (40 intermediate revisions by the same user not shown) | |||
| Line 1: | Line 1: | ||
Here you will find a list of all the items available in Zed City. From essential survival tools and powerful weapons to rare collectibles and crafting materials, each item plays a role in your fight to survive. | |||
===Weapons (melee)=== | ===Weapons (melee)=== | ||
{{#cargo_query: | {{#cargo_query: | ||
table=Weapons | table=Weapons | ||
| Line 10: | Line 9: | ||
Durability, | Durability, | ||
Type, | Type, | ||
Weight, | |||
BuyPrice = Buy Price, | BuyPrice = Buy Price, | ||
SellPrice = Sell Price, | SellPrice = Sell Price, | ||
|format=table | |format=table | ||
|order by=Name | |order by=Name | ||
|headers=yes | |headers=yes | ||
| Line 19: | Line 18: | ||
===Weapons (ranged)=== | ===Weapons (ranged)=== | ||
{{#cargo_query: | {{#cargo_query: | ||
table=WeaponsRanged, Ammo | table=WeaponsRanged, Ammo | ||
| Line 30: | Line 28: | ||
WeaponsRanged.FireRate = Fire Rate, | WeaponsRanged.FireRate = Fire Rate, | ||
WeaponsRanged.MaxAmmo = Magazine Size, | WeaponsRanged.MaxAmmo = Magazine Size, | ||
WeaponsRanged.Weight, | |||
WeaponsRanged.BuyPrice = Buy Price, | WeaponsRanged.BuyPrice = Buy Price, | ||
WeaponsRanged.SellPrice = Sell Price, | WeaponsRanged.SellPrice = Sell Price, | ||
|join on=WeaponsRanged.AmmoType=Ammo.Codename | |join on=WeaponsRanged.AmmoType=Ammo.Codename | ||
|format=table | |format=table | ||
|order by=Name | |order by=Name | ||
|headers=yes | |headers=yes | ||
| Line 40: | Line 38: | ||
===Ammo=== | ===Ammo=== | ||
{{#cargo_query: | {{#cargo_query: | ||
table=Ammo | table=Ammo | ||
| Line 46: | Line 43: | ||
_pageName=Ammo | _pageName=Ammo | ||
|format=table | |format=table | ||
|order by=Ammo | |order by=Ammo | ||
|headers=yes | |headers=yes | ||
| Line 56: | Line 52: | ||
|fields=CONCAT('{{item-img|', Image, '}}')=Image, | |fields=CONCAT('{{item-img|', Image, '}}')=Image, | ||
_pageName=Name, | _pageName=Name, | ||
Defense, | Defense, | ||
Durability, | Durability, | ||
Weight, | |||
BuyPrice = Buy Price, | BuyPrice = Buy Price, | ||
SellPrice = Sell Price | SellPrice = Sell Price | ||
|format=table | |format=table | ||
|order by=Name | |order by=Name | ||
|headers=yes | |headers=yes | ||
| Line 68: | Line 63: | ||
===Armour (body)=== | ===Armour (body)=== | ||
{{#cargo_query: | {{#cargo_query: | ||
table=DefenseBody | table=DefenseBody | ||
|fields=CONCAT('{{item-img|', Image, '}}')=Image, | |fields=CONCAT('{{item-img|', Image, '}}')=Image, | ||
_pageName=Name, | _pageName=Name, | ||
Defense, | Defense, | ||
Durability, | Durability, | ||
Weight, | |||
BuyPrice = Buy Price, | BuyPrice = Buy Price, | ||
SellPrice = Sell Price | SellPrice = Sell Price | ||
|format=table | |format=table | ||
|order by=Name | |order by=Name | ||
|headers=yes | |headers=yes | ||
| Line 85: | Line 78: | ||
===Armour (legs)=== | ===Armour (legs)=== | ||
{{#cargo_query: | {{#cargo_query: | ||
table=DefenseLegs | table=DefenseLegs | ||
|fields=CONCAT('{{item-img|', Image, '}}')=Image, | |fields=CONCAT('{{item-img|', Image, '}}')=Image, | ||
_pageName=Name, | _pageName=Name, | ||
Defense, | Defense, | ||
Durability, | Durability, | ||
Weight, | |||
BuyPrice = Buy Price, | BuyPrice = Buy Price, | ||
SellPrice = Sell Price | SellPrice = Sell Price | ||
|format=table | |format=table | ||
|order by=Name | |order by=Name | ||
|headers=yes | |headers=yes | ||
}} | }} | ||
===Armour (feet)=== | ===Armour (feet)=== | ||
{{#cargo_query: | {{#cargo_query: | ||
table=DefenseFeet | table=DefenseFeet | ||
|fields=CONCAT('{{item-img|', Image, '}}')=Image, | |fields=CONCAT('{{item-img|', Image, '}}')=Image, | ||
_pageName=Name, | _pageName=Name, | ||
Defense, | Defense, | ||
Durability, | Durability, | ||
Weight, | |||
BuyPrice = Buy Price, | BuyPrice = Buy Price, | ||
SellPrice = Sell Price | SellPrice = Sell Price | ||
|format=table | |format=table | ||
|order by=Name | |order by=Name | ||
|headers=yes | |headers=yes | ||
}} | }} | ||
=== | ===Materials=== | ||
{{#cargo_query: | |||
table=Materials | |||
|fields=CONCAT('{{item-img|', Image, '}}')=Image, | |||
_pageName=Name, | |||
Weight, | |||
BuyPrice = Buy Price, | |||
SellPrice = Sell Price | |||
|format=table | |||
|order by=Name | |||
|headers=yes | |||
}} | |||
===Fish=== | |||
{{#cargo_query: | |||
table=Fish | |||
|fields=CONCAT('{{item-img|', Image, '}}')=Image, | |||
_pageName=Name, | |||
Weight, | |||
BuyPrice = Buy Price, | |||
SellPrice = Sell Price | |||
|format=table | |||
|order by=Name | |||
|headers=yes | |||
}} | |||
| | |||
| | |||
| | |||
| | |||
=== | ===Boosters (food)=== | ||
{{#cargo_query: | |||
table=Food | |||
|fields=CONCAT('{{item-img|', Image, '}}')=Image, | |||
_pageName=Name, | |||
MoraleBoost, | |||
Cooldown, | |||
Weight, | |||
BuyPrice = Buy Price, | |||
SellPrice = Sell Price | |||
|format=table | |||
|order by=Name | |||
|headers=yes | |||
}} | |||
===Boosters (energy)=== | |||
{{#cargo_query: | |||
table=EnergyDrinks | |||
|fields=CONCAT('{{item-img|', Image, '}}')=Image, | |||
_pageName=Name, | |||
EnergyBoost, | |||
Cooldown, | |||
Weight, | |||
BuyPrice = Buy Price, | |||
SellPrice = Sell Price | |||
|format=table | |||
|order by=Name | |||
|headers=yes | |||
}} | |||
| | |||
| | |||
| | |||
| | |||
| | |||
=== | ===Boosters (alcohol)=== | ||
{{#cargo_query: | |||
table=Alcohol | |||
|fields=CONCAT('{{item-img|', Image, '}}')=Image, | |||
_pageName=Name, | |||
RadBoost, | |||
Cooldown, | |||
Weight, | |||
BuyPrice = Buy Price, | |||
SellPrice = Sell Price | |||
|format=table | |||
|order by=Name | |||
|headers=yes | |||
}} | |||
===Medical=== | |||
{{#cargo_query: | |||
table=Medical | |||
|fields=CONCAT('{{item-img|', Image, '}}')=Image, | |||
_pageName=Name, | |||
RecoverTime, | |||
HealthGain, | |||
MedicalCooldown, | |||
Weight, | |||
BuyPrice = Buy Price, | |||
SellPrice = Sell Price | |||
|format=table | |||
|order by=Name | |||
|headers=yes | |||
}} | |||
| | |||
| | |||
| | |||
| | |||
| | |||
=== | ===Misc=== | ||
{{#cargo_query: | |||
table=Misc | |||
|fields=CONCAT('{{item-img|', Image, '}}')=Image, | |||
_pageName=Name, | |||
Weight, | |||
BuyPrice = Buy Price, | |||
SellPrice = Sell Price | |||
|format=table | |||
|order by=Name | |||
|headers=yes | |||
}} | |||
===Equipment=== | |||
{{#cargo_query: | |||
table=Equipment | |||
|fields=CONCAT('{{item-img|', Image, '}}')=Image, | |||
_pageName=Name, | |||
Durability, | |||
Weight, | |||
BuyPrice = Buy Price, | |||
SellPrice = Sell Price, | |||
|format=table | |||
|order by=Name | |||
|headers=yes | |||
}} | |||
| | |||
| | |||
| | |||
| | |||
=== | ===Trophy=== | ||
{{#cargo_query: | |||
table=Trophy | |||
|fields=CONCAT('{{item-img|', Image, '}}')=Image, | |||
_pageName=Name, | |||
Weight | |||
{ | |format=table | ||
|order by=Name | |||
|headers=yes | |||
}} | |||
| | |||
| | |||
| | |||
| | |||
Revision as of 17:16, 10 November 2024
Here you will find a list of all the items available in Zed City. From essential survival tools and powerful weapons to rare collectibles and crafting materials, each item plays a role in your fight to survive.
Weapons (melee)
| Image | Name | Attack | Accuracy | Durability | Type | Weight | Buy Price | Sell Price |
|---|---|---|---|---|---|---|---|---|
 |
Baseball Bat | 18 | 57 | Medium | blunt | 1kg | 3 | 1 |
 |
Baton | 25 | 65 | Medium | blunt | 1kg | 100 | 50 |
 |
Chainsaw | 60 | 30 | High | bladed | 1kg | 10,000 | 2,500 |
 |
Drill | 30 | 35 | Medium | piercing | 1kg | 5,000 | 500 |
 |
Fire Axe | 55 | 35 | Medium | bladed | 1kg | 9,000 | 2,000 |
 |
Machete | 50 | 65 | Medium | bladed | 1kg | 12,000 | 3,000 |
 |
Meat Cleaver | 45 | 70 | Medium | bladed | 1kg | 11,000 | 2,800 |
 |
Riot Prod | 100 | 100 | Very Low | blunt | 1kg | 0 | 0 |
 |
Spear | 28 | 70 | Medium | piercing | 1kg | 0 | 150 |
 |
Switchblade | 28 | 70 | Medium | bladed | 1kg | 500 | 250 |
 |
Wrench | 38 | 45 | Medium | blunt | 1kg | 1,000 | 350 |
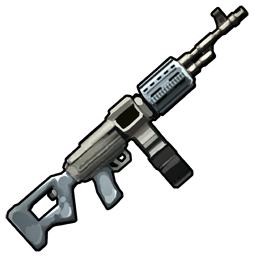
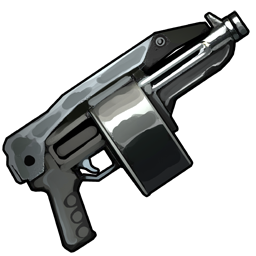
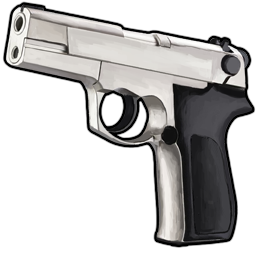
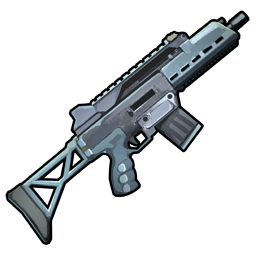
Weapons (ranged)
| Image | Name | Attack | Accuracy | Durability | Ammo | Fire Rate | Magazine Size | Weight | Buy Price | Sell Price |
|---|---|---|---|---|---|---|---|---|---|---|
 |
AK-47 | 50 | 50 | Medium | Rifle Ammo | 10-15 | 35 | 1kg | 0 | 0 |
 |
AK-74u | 40 | 40 | Medium | Rifle Ammo | 24-30 | 35 | 1kg | 0 | 0 |
 |
Bow | 18 | 57 | Medium | Arrows | 2-4 | 10 | 1kg | 0 | 0 |
 |
Bullpup | 35 | 30 | Medium | Pistol Ammo | 10-15 | 25 | 1kg | 0 | 0 |
 |
Chain Shotgun | 50 | 50 | Medium | Shotgun Slug | 2-6 | 6 | 1kg | 0 | 0 |
 |
Desert Eagle | 30 | 57 | Medium | Pistol Ammo | 3-6 | 12 | 1kg | 0 | 0 |
 |
Evo Assault | 55 | 30 | Medium | Rifle Ammo | 32-42 | 40 | 1kg | 0 | 0 |
 |
Famas | 30 | 95 | Medium | Rifle Ammo | 10-50 | 50 | 1kg | 0 | 0 |
 |
Handgun | 25 | 57 | Medium | Pistol Ammo | 3-4 | 12 | 1kg | 750 | 500 |
 |
Handmade | 18 | 57 | Medium | Simple Ammo | 1-4 | 4 | 1kg | 0 | 0 |
 |
L96 | 120 | 80 | Medium | Rifle Ammo | 1 | 1 | 1kg | 3,500,000 | 150,000 |
 |
LR-300 | 25 | 90 | Medium | Rifle Ammo | 10-50 | 50 | 1kg | 0 | 0 |
 |
M249 | 50 | 20 | Medium | Rifle Ammo | 30-40 | 40 | 1kg | 2,500,000 | 125,000 |
 |
Magnum Revolver | 70 | 65 | Medium | Pistol Ammo | 1-6 | 6 | 1kg | 0 | 0 |
 |
Minigun | 50 | 50 | Medium | Rifle Ammo | 15-25 | 35 | 1kg | 0 | 0 |
 |
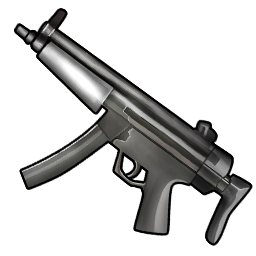
MP5 | 25 | 57 | Medium | Pistol Ammo | 10-15 | 25 | 1kg | 0 | 0 |
 |
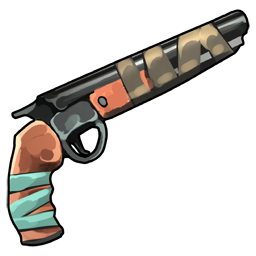
Revolver | 60 | 60 | Medium | Pistol Ammo | 1-6 | 6 | 1kg | 0 | 0 |
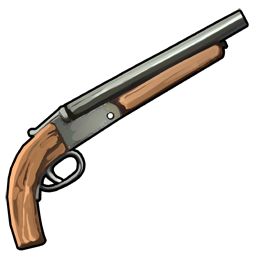 |
Sawnoff | 80 | 40 | Medium | Shotgun Slug | 1-2 | 2 | 1kg | 0 | 0 |
 |
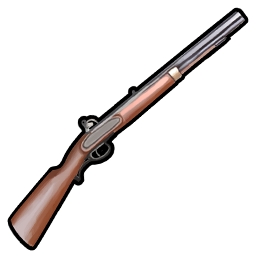
Scuff Shotgun | 50 | 40 | Very Low | Simple Ammo | 1-2 | 2 | 1kg | 2,000 | 500 |
 |
Shotgun | 80 | 60 | Medium | Shotgun Slug | 1-2 | 2 | 1kg | 0 | 0 |
 |
SMG | 60 | 50 | Medium | Rifle Ammo | 5-10 | 20 | 1kg | 0 | 0 |
Ammo
| Image | Ammo |
|---|---|
 |
Arrows |
 |
Pistol Ammo |
 |
Rifle Ammo |
 |
Shotgun Slug |
 |
Simple Ammo |
Armour (head)
| Image | Name | Defense | Durability | Weight | Buy Price | Sell Price |
|---|---|---|---|---|---|---|
 |
Army Helmet | 2 | Medium | 1kg | 1,000 | 750 |
 |
Bronze Mask | 3 | Medium | 1kg | 0 | 0 |
 |
Camo Hat | 1 | Medium | 1kg | 0 | 0 |
 |
Carbon Moto Helm | 3 | Medium | 1kg | 0 | 0 |
 |
Cowboy Hat | 5 | Medium | 1kg | 0 | 0 |
 |
Gas Mask | 2 | Medium | 1kg | 0 | 0 |
 |
Hockey Mask | 1 | Medium | 1kg | 0 | 0 |
 |
Iron Mask | 3 | Medium | 1kg | 0 | 0 |
 |
Moto Helm | 3 | Medium | 1kg | 0 | 0 |
 |
Nano Helmet | 10 | Medium | 1kg | 0 | 0 |
 |
Ranger Hat | 1 | Medium | 1kg | 0 | 0 |
 |
Riot Helmet | 3 | Medium | 1kg | 0 | 0 |
 |
Shawl | 3 | Medium | 1kg | 0 | 0 |
 |
Steel Mask | 3 | Medium | 1kg | 0 | 0 |
 |
Sunglasses | 1 | Medium | 1kg | 0 | 0 |
Armour (body)
| Image | Name | Defense | Durability | Weight | Buy Price | Sell Price |
|---|---|---|---|---|---|---|
 |
Barrel Vest | 5 | Medium | 1kg | 0 | 0 |
 |
Blue Suit | 5 | Pristine | 1kg | 0 | 0 |
 |
Body Vest | 15 | Medium | 1kg | 0 | 0 |
 |
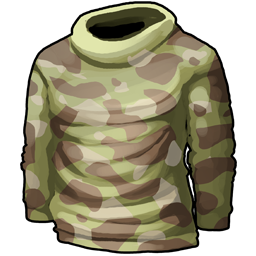
Camo Fleece | 5 | Pristine | 1kg | 0 | 0 |
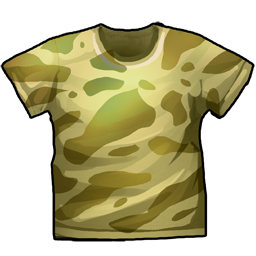 |
Camo Shirt | 5 | Pristine | 1kg | 0 | 0 |
 |
Camo Vest | 10 | Unknown | 1kg | 0 | 0 |
 |
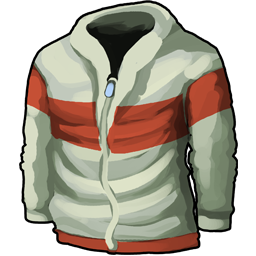
Cloth Jacket | 1 | Very Low | 1kg | 500 | 300 |
 |
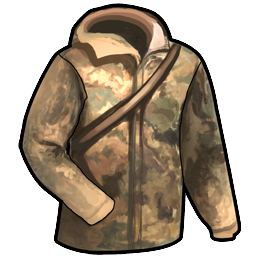
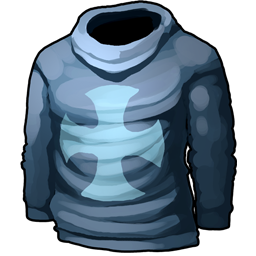
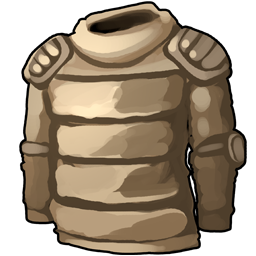
Combat Pullover | 5 | Pristine | 1kg | 0 | 0 |
 |
Crew Sweater | 5 | Pristine | 1kg | 0 | 0 |
 |
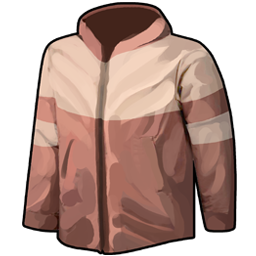
Hazmat Jacket | 2 | Medium | 1kg | 0 | 0 |
 |
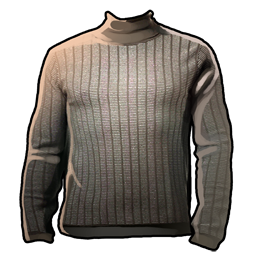
Heavy Sweater | 10 | Pristine | 1kg | 0 | 0 |
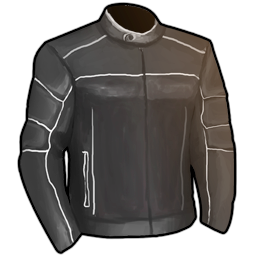 |
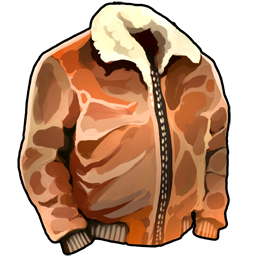
Leather Jacket | 5 | Pristine | 1kg | 0 | 0 |
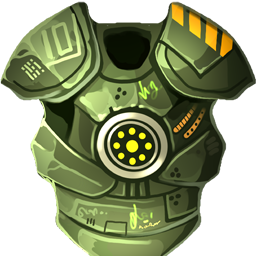 |
Nano Armour | 20 | Medium | 1kg | 0 | 0 |
 |
Padded Vest | 10 | Unknown | 1kg | 0 | 0 |
 |
Ranger Jacket | 3 | Very High | 1kg | 0 | 0 |
 |
Tracksuit | 5 | Pristine | 1kg | 0 | 0 |
Armour (legs)
| Image | Name | Defense | Durability | Weight | Buy Price | Sell Price |
|---|---|---|---|---|---|---|
 |
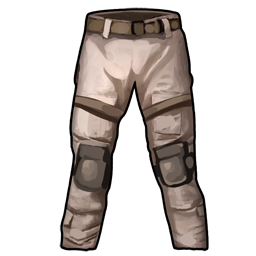
Armoured Pants | 2 | Pristine | 1kg | 150,000 | 75,000 |
 |
Army Pants | 2 | Very High | 1kg | 0 | 0 |
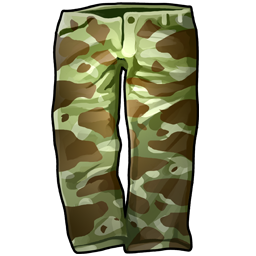 |
Camo Pants | 1 | Medium | 1kg | 0 | 0 |
 |
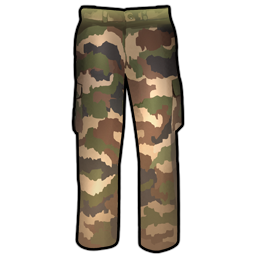
Cargo Pants | 1 | Very High | 1kg | 0 | 0 |
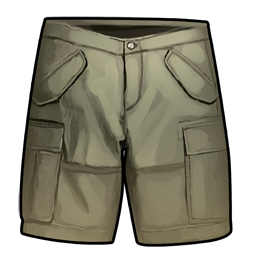 |
Cargo Shorts | 1 | Medium | 1kg | 0 | 0 |
 |
Cloth Pants | 1 | Low | 1kg | 250 | 150 |
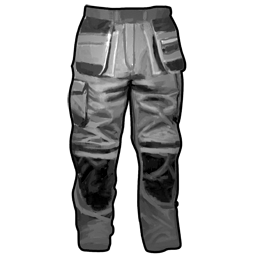
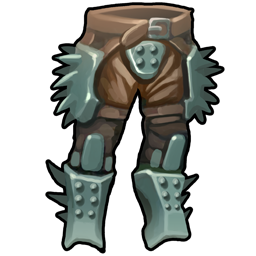 |
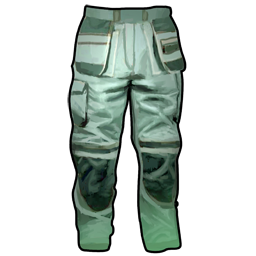
Heavily Armoured Pants | 3 | Medium | 1kg | 0 | 0 |
 |
Heavy Reinforced Legs | 2 | Pristine | 1kg | 0 | 0 |
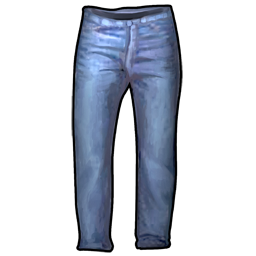 |
Jeans | 1 | Medium | 1kg | 0 | 0 |
 |
Jogging Bottoms | 1 | Medium | 1kg | 0 | 0 |
 |
Kevlar Pants | 2 | Pristine | 1kg | 0 | 0 |
 |
Knee Pads | 1 | Medium | 1kg | 0 | 0 |
 |
Padded Pants | 1 | Medium | 1kg | 0 | 0 |
 |
Ranger Jeans | 1 | Very High | 1kg | 0 | 0 |
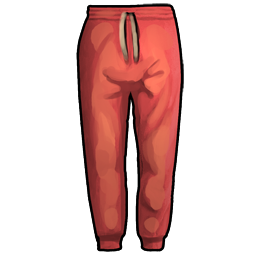
 |
Sweat Pants | 1 | Medium | 1kg | 0 | 0 |
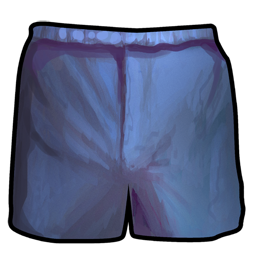 |
Swim Shorts | 1 | Medium | 1kg | 220 | 180 |
Armour (feet)
| Image | Name | Defense | Durability | Weight | Buy Price | Sell Price |
|---|---|---|---|---|---|---|
 |
Army Boots | 2 | Pristine | 1kg | 0 | 0 |
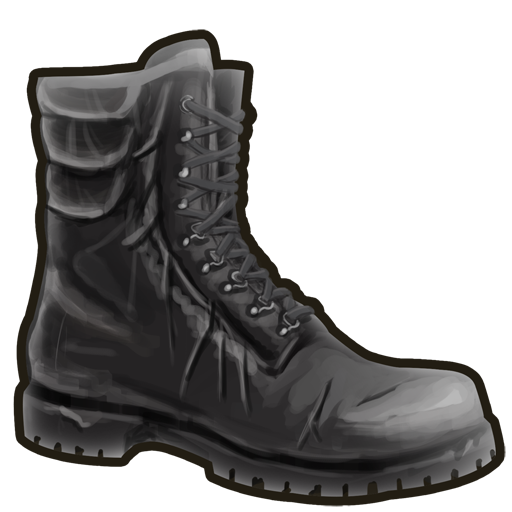 |
Black Boots | 5 | Very High | 1kg | 0 | 0 |
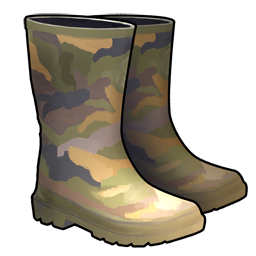 |
Camo Boots | 1 | Very High | 1kg | 0 | 0 |
 |
Desert Boots | 5 | Very High | 1kg | 0 | 0 |
 |
Hazmat Boots | 1 | Medium | 1kg | 0 | 0 |
 |
Ranger Boots | 2 | Very High | 1kg | 0 | 0 |
 |
Running Shoes | 5 | Very High | 1kg | 0 | 0 |
 |
Sandals | 1 | Low | 1kg | 250 | 150 |
 |
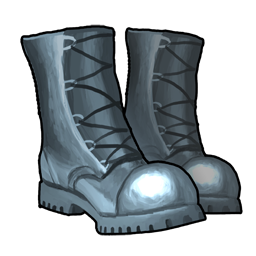
Soldier Boots | 5 | Very High | 1kg | 50,000 | 25,000 |
 |
Trekking Boots | 1 | High | 1kg | 0 | 0 |
 |
Work Boots | 2 | Medium | 1kg | 0 | 0 |
Materials
| Image | Name | Weight | Buy Price | Sell Price |
|---|---|---|---|---|
 |
Accuracy Kit | 1kg | 0 | 10,000 |
 |
Advanced Tools | 0.5kg | 0 | 1,000 |
 |
Alloy Bar | 0.20kg | 0 | 0 |
 |
Amber | 1kg | 0 | 0 |
 |
Ash | 0.01kg | 0 | 0 |
 |
Automation Arm | 10kg | 0 | 0 |
 |
Barley | 0.1kg | 0 | 0 |
 |
Barley Seeds | 0.1kg | 0 | 0 |
 |
Barricade | 2.5kg | 0 | 0 |
 |
Bolts | 0.10kg | 0 | 200 |
 |
Bone Offering | 0.25kg | 0 | 1,000 |
 |
Brick | 0.25kg | 0 | 0 |
 |
Broken Radio | 1.2kg | 0 | 0 |
 |
Broken Remote | 0.5kg | 0 | 0 |
 |
Broken Screen | 2kg | 0 | 0 |
 |
Bucket | 2kg | 5,000 | 1,000 |
 |
Car Parts | 0.175kg | 0 | 0 |
 |
Cement | 0.25kg | 0 | 0 |
 |
Cloth | 0.1kg | 0 | 20 |
 |
Coal | 0.1kg | 30 | 10 |
 |
Computer Board | 1kg | 0 | 0 |
 |
Cross Necklace | 0.01kg | 0 | 250 |
 |
Crystal Water | 0.5kg | 150,000 | 5,000 |
 |
Damage Kit | 1kg | 0 | 10,000 |
 |
Defense Kit | 10kg | 0 | 0 |
 |
Demon Stone | 0.01kg | 0 | 5,000 |
 |
Dirty Water | 0.05kg | 0 | 0 |
 |
Double Lining | 1kg | 0 | 5,000 |
 |
Ectoplasm | 0.01kg | 0 | 100 |
 |
Electrical Components | 0.25kg | 0 | 0 |
 |
Empty Fuel Container | 2.5kg | 0 | 0 |
 |
Explosives | 0.5kg | 0 | 0 |
 |
Fishing Reel | 1kg | 0 | 0 |
 |
Flux | 0.15kg | 0 | 450 |
 |
Fuel | 0.25kg | 0 | 250 |
 |
Fuel Container | 5kg | 0 | 0 |
 |
Gears | 0.5kg | 0 | 250 |
 |
Gun Powder | 0.01kg | 0 | 15 |
 |
Hide | 0.05kg | 100 | 50 |
 |
Iron Bar | 0.1kg | 100 | 50 |
 |
Iron Ore | 0.03kg | 100 | 30 |
 |
Light Lining | 1kg | 0 | 5,000 |
 |
Logs | 0.01kg | 10 | 5 |
 |
Nails | 0.01kg | 25 | 12 |
 |
Nanites Cache | 5kg | 0 | 0 |
 |
Nimble Lining | 1kg | 0 | 5,000 |
 |
Oil | 0.15kg | 0 | 0 |
 |
Planks | 0.05kg | 25 | 21 |
 |
Plastic | 0.5kg | 0 | 500 |
 |
Quartz | 0.05kg | 0 | 500 |
 |
Rebar | 1kg | 0 | 0 |
 |
Reclaimed Components | 0.25kg | 0 | 1,000 |
 |
Reinforced Lining | 1kg | 0 | 5,000 |
 |
Rock | 0.01kg | 0 | 0 |
 |
Rope | 0.25kg | 0 | 0 |
 |
Sacrifice | 15kg | 1,000 | 500 |
 |
Salvaged Tech | 0.2kg | 0 | 0 |
 |
Sand | 0.01kg | 10 | 5 |
 |
Scrap | 0.01kg | 3 | 1 |
 |
Scrapnote | 0.01kg | 0 | 0 |
 |
Serum | 1kg | 0 | 0 |
 |
Silicon | 0.05kg | 0 | 1,500 |
 |
Steel | 0.05kg | 0 | 100 |
 |
Tape | 1kg | 0 | 0 |
 |
Tarp | 0.5kg | 0 | 1,600 |
 |
Thread | 0.01kg | 0 | 0 |
 |
Tin Plate | 1.0kg | 0 | 1,500 |
 |
Tincture | 1kg | 0 | 0 |
 |
Unrefined Plastic | 2.2kg | 0 | 2,800 |
 |
Water | 0.1kg | 0 | 0 |
 |
Water Bucket | 6kg | 5,000 | 1,000 |
 |
Wire | 0.2kg | 0 | 0 |
 |
Zed Juice | 0.05kg | 0 | 10 |
Fish
| Image | Name | Weight | Buy Price | Sell Price |
|---|---|---|---|---|
 |
Angelfish | 0.25kg | 70 | 15 |
 |
Barnaclefish | 0.25kg | 70 | 15 |
 |
Bass | 0.25kg | 70 | 15 |
 |
Carp | 0.25kg | 29 | 12 |
 |
Perch | 0.25kg | 300 | 10 |
 |
Rockfish | 0.5kg | 70 | 15 |
 |
Sandfish | 0.25kg | 70 | 15 |
Boosters (food)
| Image | Name | MoraleBoost | Cooldown | Weight | Buy Price | Sell Price |
|---|---|---|---|---|---|---|
 |
Animal Meat | 50 | 1800 | 1kg | 100 | 20 |
 |
Canned Food | 20 | 1800 | 0.01kg | 10 | 5 |
 |
Chocolate | 100 | 1800 | 1kg | 250 | 50 |
 |
Cooked Fish | 65 | 1800 | 1kg | 140 | 30 |
 |
Cooked Meat | 75 | 1800 | 1kg | 160 | 35 |
 |
Fish Kebab | 100 | 1800 | 1kg | 250 | 40 |
 |
Kwizine | 300 | 1800 | 1kg | 1,500 | 100 |
 |
Mixed Vegetables | 10 | 1800 | 1kg | 0 | 250 |
 |
Pumpkin Pie | 50 | 3600 | 1kg | 0 | 0 |
 |
Sandwich | 125 | 1800 | 1kg | 400 | 45 |
Boosters (energy)
| Image | Name | EnergyBoost | Cooldown | Weight | Buy Price | Sell Price |
|---|---|---|---|---|---|---|
 |
Coffee | 25 | 7200 | 1kg | 0 | 0 |
 |
E-Cola | 25 | 7200 | 1kg | 0 | 0 |
 |
Eyebellini | 25 | 7200 | 1kg | 0 | 0 |
 |
Free ZedBull | 100 | 1800 | 1kg | 0 | 0 |
 |
Witch's Brew | 25 | 7200 | 1kg | 0 | 0 |
 |
ZedBull | 30 | 7200 | 1kg | 0 | 0 |
Boosters (alcohol)
| Image | Name | RadBoost | Cooldown | Weight | Buy Price | Sell Price |
|---|---|---|---|---|---|---|
 |
Beer | 5 | 1800 | 1kg | 0 | 0 |
 |
Free Beer | 15 | 600 | 1kg | 0 | 0 |
 |
Vodka | 10 | 1800 | 1kg | 0 | 0 |
 |
Whiskey | 15 | 1800 | 1kg | 0 | 0 |
Medical
| Image | Name | RecoverTime | HealthGain | MedicalCooldown | Weight | Buy Price | Sell Price |
|---|---|---|---|---|---|---|---|
 |
Bandage | 60 | 100 | undefined | 0.1kg | 100 | 20 |
 |
Med Kit | 3600 | 400 | undefined | 0.5kg | 0 | 0 |
 |
Morphine | 3600 | 500 | undefined | 0.2kg | 0 | 0 |
 |
Small Med Kit | 1800 | 150 | undefined | 0.2kg | 0 | 0 |
Misc
| Image | Name | Weight | Buy Price | Sell Price |
|---|---|---|---|---|
 |
Barracks key | 0.1kg | 0 | 0 |
 |
Buddys Pass | 1kg | 0 | 0 |
 |
Fuel Injector | 1kg | 0 | 0 |
 |
Generals RFID | 0.1kg | 0 | 0 |
 |
Golden Key | 1kg | 0 | 0 |
 |
Lighter | 1kg | 0 | 0 |
 |
Lockpick | 0.1kg | 500 | 50 |
 |
Lucky coin | 1kg | 0 | 0 |
 |
Police RFID | 0.1kg | 0 | 0 |
 |
Security Card | 1kg | 0 | 0 |
 |
Silver key | 0.1kg | 0 | 0 |
 |
Splicer | 2.5kg | 15,000 | 1,000 |
 |
Zed Coin | 0kg | 0 | 0 |
 |
Zed Pack | 0kg | 0 | 200,000 |
Equipment
| Image | Name | Durability | Weight | Buy Price | Sell Price |
|---|---|---|---|---|---|
 |
Arrow Quiver | Medium | 1kg | 5,000 | 1,000 |
 |
Battery | Medium | 3kg | 5,000 | 1,000 |
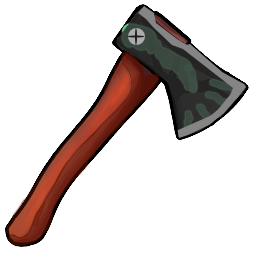
 |
Hatchet | Medium | 1kg | 0 | 10 |
 |
Mechanics Wrench | Very Low | 1kg | 0 | 0 |
 |
Pickaxe | Medium | 1kg | 0 | 0 |
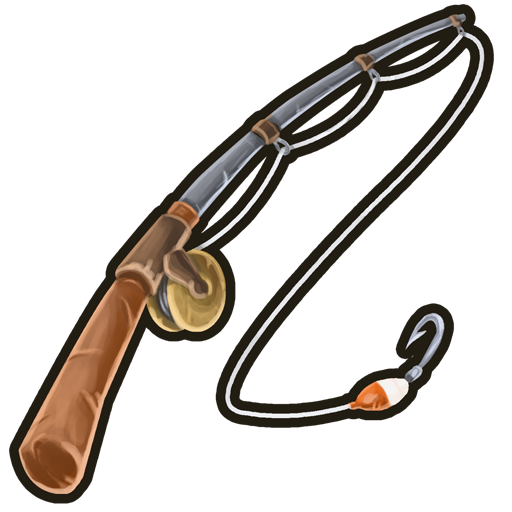
 |
Pro Fishing Rod | High | 1kg | 0 | 0 |
 |
Steel Fishing Rod | Medium | 1kg | 0 | 0 |
 |
Steel Hatchet | Medium | 2kg | 0 | 10 |
 |
Steel Pickaxe | High | 2kg | 0 | 0 |
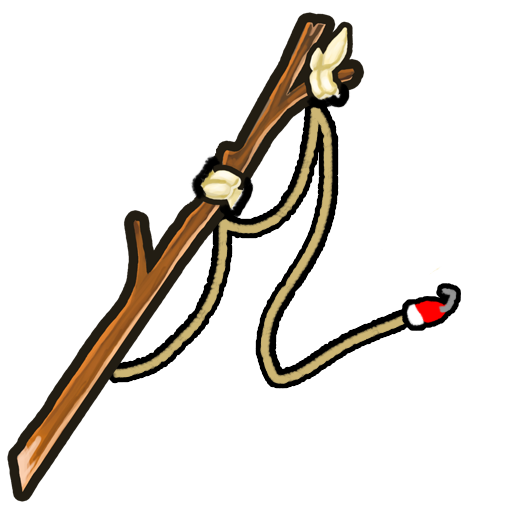 |
Wooden Fishing Rod | Low | 1kg | 0 | 500 |
Trophy
| Image | Name | Weight |
|---|---|---|
 |
Alpha Survivor | 0kg |
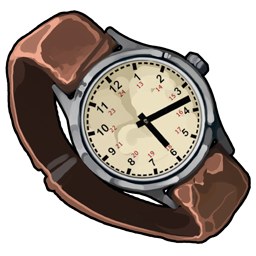 |
Antique Watch | 1kg |
 |
Everburning Lighter | 0kg |
 |
Forever Lollipop | 1kg |
 |
Giant Pufferfish | 1kg |
 |
Golden Egg | 0kg |
 |
Golden Skull | 0kg |
 |
Handy Pliers | 1kg |
 |
Hip Flask | 1kg |
 |
Huge Pine Cone | 1kg |
 |
Lumberjack Gloves | 1kg |
 |
Miners Gloves | 1kg |
 |
Miners Lamp | 1kg |
 |
Monster Catfish | 1kg |
 |
Old Gas Mask | 1kg |
 |
Pocket Watch | 1kg |
 |
Preserved Coffee | 1kg |
 |
Silver Spoon | 1kg |
 |
Stale Donut | 1kg |
 |
Strange Gas Can | 1kg |
 |
Strong Carabiner | 1kg |
 |
Viper Barnaclefish | 1kg |